Section 4 - Naming: Symbolic Reference
In this section we will be looking at symbolic reference. It is important that all spreadsheets have reference to columns and rows so they can be clearly understood by those that use it. Symbolic reference is referring to a row or column type symbolically, which means by name, rather than literally meaning by number position. The name will either be a word or phrase assigned to a specific cell. By referring to a row or column symbolically allows users to understand the meaning of cell types more easily, thus making the spreadsheet more user friendly. This also means that users can pick up the meaning of the spreadsheet and how to use it quickly allowing for example, large businesses to draft different employees in to use the same spreadsheet.
Defining Names
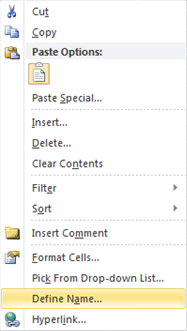
We will again look at our tutor student spreadsheet example to show how symbolic reference can be used in a real scenario situation. It can be useful for the tutor to use the symbolic reference style to name different rows and columns. This helps other users to understand the spreadsheet more easily. To do this she selects Insert > Name > Define... or right clicks a target cell and selects Define Name...
and the following window is displayed...
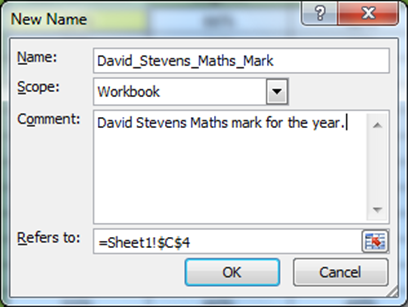
The above window requires a name, scope, comment and reference cell. Cell C4 has been selected, which is a maths grade from a student. Here the tutor would type in a name to describe the cells purpose, in this case we are looking at the maths grade cell of a student, therefore the name is David_Stevens_Maths_Mark. The scope has been chosen to the entire workbook. The comment is to further help users to understand what the cells purpose is, thus the tutor would type; David Stevens Maths mark for the year. The reference cell will automatically display as long as the user clicks on cell before entering the define name option. Here the reference cell is =Sheet1!$c$4 which refers to cell C4 in sheet1.
We will now look at applying the names to cells and how these names are used in formulas within the spreadsheet.
Applying Names
Before you can apply a name to a spreadsheet you must have carried through the previous step of defining a name. We are going to continue with our tutor spreadsheet example. If our tutor wanted to define a name for, say, cell C4 which can be seen below highlighted in yellow.
She would need to click on formulas, define name, apply name.
This displays the following window...
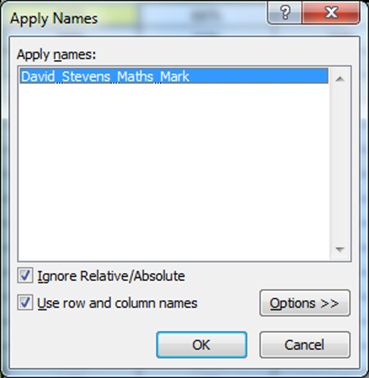
Here it will display the new name created as seen above. Once she has clicked ok it will replace any formulas with the original cell value of C4 with the new name David_Stevens_Maths_Mark. This will help with cell identification when working with formulas.
For example, the original average mark for the maths subject was calculated on the spreadsheet with the following formulae =AVERAGE(C4:C24). This formulae will now show the following =AVERAGE(David_Stevens_Maths_Mark:C24)
